In November we released a feature that allows you to create new items and link them to the current item on a new item form. Up until now, however, you could only do that with the related items control in grid mode. Starting from Forms Designer 3.0.8 you are able to do it with a non-grid mode related items control as well.
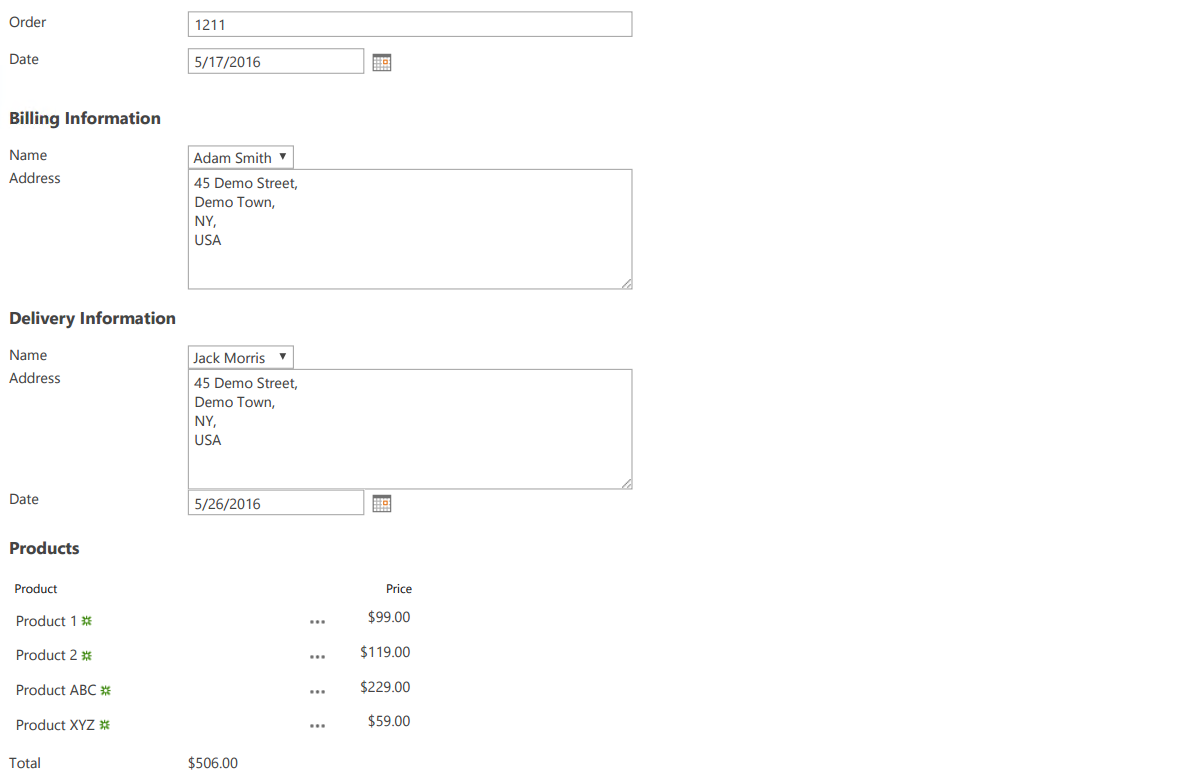
Let’s illustrate what we’re talking about. Here’s a form:

Let’s add a new related contact:

It appears in the related items control:

Then we can save the parent item, when we do so a link is created:

Implementation
Open the parent New form in Forms Designer.
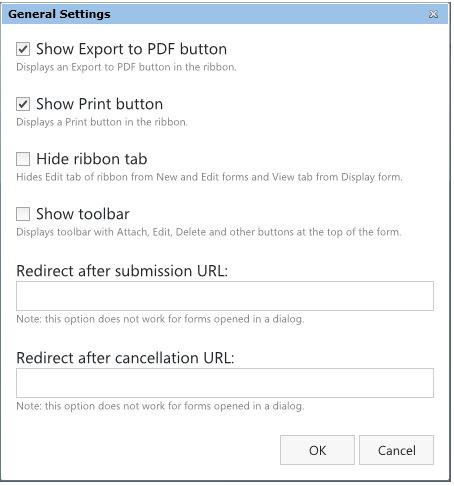
Set the related items control to 'Show new items only':

Add the following line of code to the JS-editor:
fd.populateFieldsInGrid($('.related-items'), {
 RelatedIssue: '{CurrentItem}'
});
Where RelatedIssue is the internal name of a lookup field on the child list to the parent list and related-items is a CSS class name that you need to assign to the related items control in Forms Designer.
Save.
Open child New form in Forms Designer.
Add an HTML control to the form, set CDATA to false, insert the following code to it:
<div id="_fd_parent_temp">
<asp:HiddenField runat="server" ID="_fd_parent_tempField"
__designer:bind="{ddwrt:DataBind('i','_fd_parent_tempField','Value','Load','ID',ddwrt:EscapeDelims(string(@ID)),'@_fd_parent_temp')}" />
</div>

Add the following code to the JS editor:
$('#_fd_parent_temp > input').val(window.top.fd._tempParentId());
Save the child form.
Explanation
When we added a related items control and saved the form, Forms Designer added a hidden field called '_fd_parent_temp' to the target list. We then added a hidden '_fd_parent_tempField' control to the child form and bound it to the hidden field. When the child form loads, the JavaScript sets a temporary id of the parent item into _fd_parent_tempField. Finally, when the parent item is saved, Forms Designer checks '_fd_parent_temp' for the parent items’ id and sets the 'RelatedIssue' field to the parent item.
Feel free to ask your questions